...
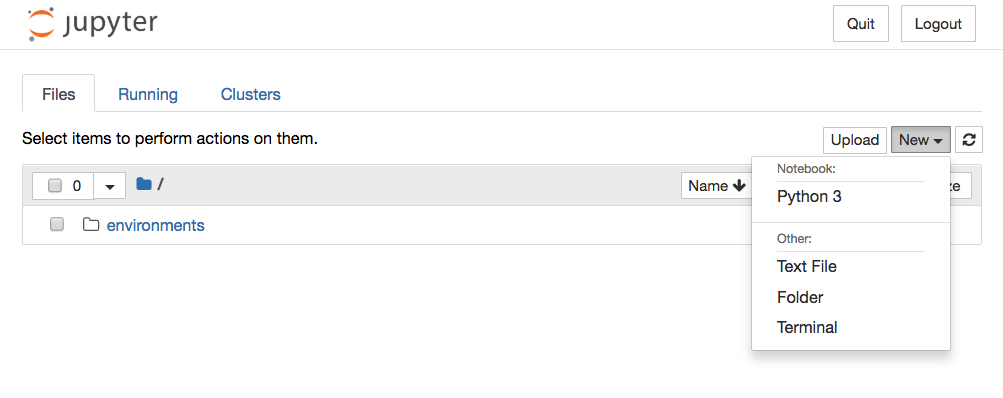
Create a new notebook file by clicking New then Python 3 at the top-right of the Notebook Dashboard:
Creating a directory to keep your Jupyter Notebook documents
Once you had installed Supervisor, you can proceed with creating a directory to keep your Jupyter Notebook documents. For example, you can run the following command to create the contents directory inside the ~/jupyter directory:
|
Creating a shell script to run Jupyter Notebook within the virtual environment
Next, proceed to create a shell script to run Jupyter Notebook. In order to do so, run the following command to create a shell script at ~/jupyter/run-jupyter-notebook.sh:
|
When the editor loads, create the following content:
|
After you had done so, press Esc followed by :wq to save the file. Once you had saved the file, make the file executable by running the following command:
|
Creating the Supervisor configuration file to run Jupyter Notebook
In order to get Supervisor to run Jupyter Notebook, you will need to create a Supervisor configuration file. Run the following command to create a configuration file at /etc/supervisor/conf.d/jupyter-notebook.conf:
|
Once the editor appears, create the following content:
|
After you had done so, press Esc followed by :wq to save the file.
Once you had saved /etc/supervisor/conf.d/jupyter-notebook.conf, run the following command to restart Supervisor:
$ |
When Supervisor had restarted successfully, it will run your Jupyter Notebook for you.
How do I open a specific Notebook?
The following code should open the given notebook in the currently running notebook server, starting one if necessary.
|
How do I start the Notebook using a custom IP or port?
By default, the notebook server starts on port 8888. If port 8888 is unavailable or in use, the notebook server searches the next available port. You may also specify a port manually. In this example, we set the server’s port to 9999:
|
