...
Essentially, pyvenv sets up a new directory that contains a few items which we can view with the ls command:
Set up zeromq
$ wget https://github.com/zeromq/libzmq/releases/download/v4.2.2/zeromq-4.2.2.tar.gz
$ tar xvzf zeromq-4.2.2.tar.gz
$ sudo apt-get update && \
$ sudo apt-get install -y libtool pkg-config build-essential autoconf automake uuid-dev
$ cd zeromq-4.2.2
$ ./configure
$ sudo make install
$ sudo ldconfig
# Check installed
$ ldconfig -p | grep zmq
# Expected
############################################################
# libzmq.so.5 (libc6,x86-64) => /usr/local/lib/libzmq.so.5
# libzmq.so (libc6,x86-64) => /usr/local/lib/libzmq.so
############################################################ |
Installing Jupyter Notebook
...
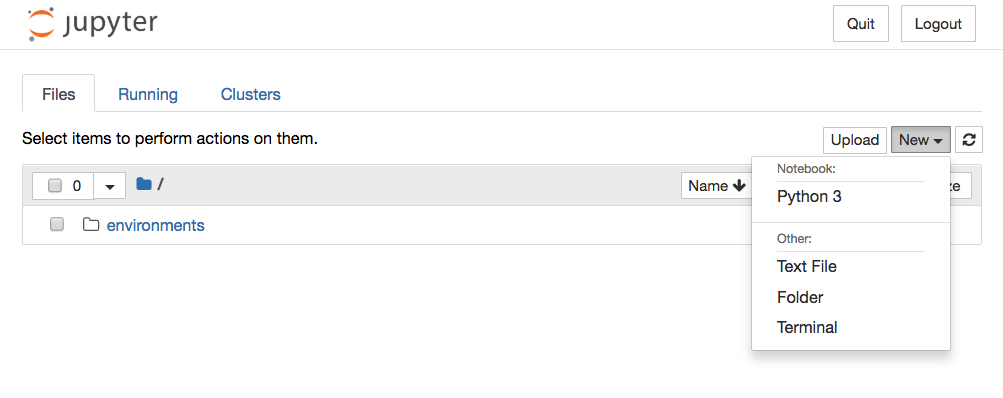
Create a new notebook file by clicking New then Python 3 at the top-right of the Notebook Dashboard:

Type in 3+3 in the input box and press Ctrl+Enter to see the output
 Image Added
Creating a directory to keep your Jupyter Notebook documents
...

